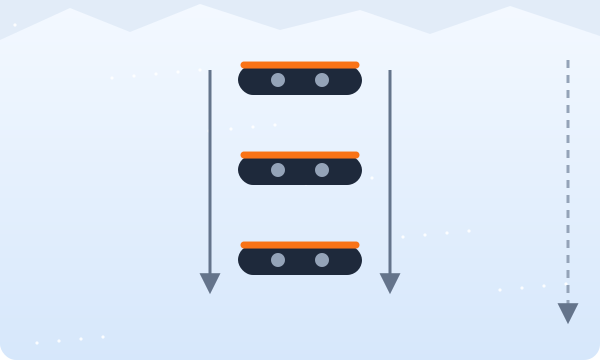
On a snowboard, you control speed with your edges. The side slip (sometimes called “pushing the slope”) teaches exactly that: the board stays across the hill while you slide straight down, and you adjust speed by raising or lowering the uphill edge. It is the first thing almost every snowboard instructor teaches, and the skill you will fall back on whenever a slope feels too steep.
Before you start: getting strapped in
- Strap in your front foot first, on flat snow or across the slope so the board doesn't slide away
- To strap in the back foot, sit down facing downhill with the board across the slope
- Tighten the straps so your boots don't move in the bindings, but not so tight that they hurt
- Always keep the leash (if your board has one) attached when you are on a slope
Heel-side side slip
- Sit down facing downhill, strap in, then stand up with the board across the slope
- Knees bent, back straight, arms forward, weight centered between both feet
- Lift your toes slightly to dig in the heel edge — you should stay still
- Slowly lower your toes to flatten the board a little: you'll start sliding down
- Lift your toes again to slow down or stop
Standing up for the first time is often the hardest part. Pull the board close to your bottom, grab the toe edge with one hand, and push yourself up while keeping your weight over the heel edge. If that's difficult, roll over onto your knees and stand up from the toe side instead.
Toe-side side slip
Turn around to face uphill (kneel, then stand up) and repeat the same practice on your toe edge, pressing through your toes and shins. It feels scarier at first because you can't see behind you — go slowly and check over your shoulder.
On the toe side, bend your knees and press them gently into the slope. Keep your hips over the board rather than sticking your bottom out. To slide, relax the pressure slightly through your toes; to stop, press your knees and toes into the hill again.
Drills to build control
- Stop-and-go: slide a few meters, stop, then slide again, on both heel and toe edges
- Speed control: slide slowly, a bit faster, then slowly again without stopping
- Stop at a marker: pick a point on the slope and try to stop right beside it
- Look around: practice turning your head to check the slope above you while staying on edge
Common mistakes
- Flattening the board too much: the downhill edge catches and you fall hard — keep the uphill edge slightly raised
- Standing straight up: bend your knees and keep your weight low
- Leaning on one foot: keep equal weight on both feet so the board doesn't rotate
How to fall safely
Falls are part of learning to snowboard, but you can make them much softer. Falling toward the heel side, sit down onto your bottom and roll back rather than putting your hands behind you. Falling toward the toe side, drop onto your knees and forearms instead of straight arms. Keep your fists closed, which helps protect your wrists.